DIY: Jewelry Tray Takes the Form of a Leaf
Make a home for earrings, keys and other small items out of tropical foliage and easy-to-mold clay
María Vázquez · Dr. Livinghome
11 января, 2018
Working with clay is really relaxing. Shaping wood is a battle, as it needs to be cut and lathed, but clay is easy to mold, making everything more fun.
To make these gorgeous DIY trays, we recommend using air-dry clay or polymer clay since neither requires a kiln. Instead, these clays can be air-dried or dried in a regular oven, respectively.
I usually work with air-dry clay because it is natural and feels like working with traditional clay. Polymer clay smells and feels different.
To be comfortable, you should do this project at a table or a writing desk with a smooth surface, not a rustic wooden one. Don’t worry about stains: You can get rid of them easily with a wet cloth.

Tools and Materials
- Air-dry or polymer clay (for polymer, dry as directed on the package)
- Rolling pin
- 2 wood strips of equal thickness (about ⅜ inch)
- Leaves from Monstera deliciosa, also known as split-leaf philodendron and Swiss cheese plant. Choose leaves with a relatively unbroken outline and the tropical plant’s characteristic small holes. I used a leaf with an unbroken outline and another with openings, and got a nicer result with the former.
- Clay-sculpting tool or wooden toothpick
- Baking parchment
- Sponge
- Paper towels
- Bowl to be used as a mold
- Sandpaper
Instructions
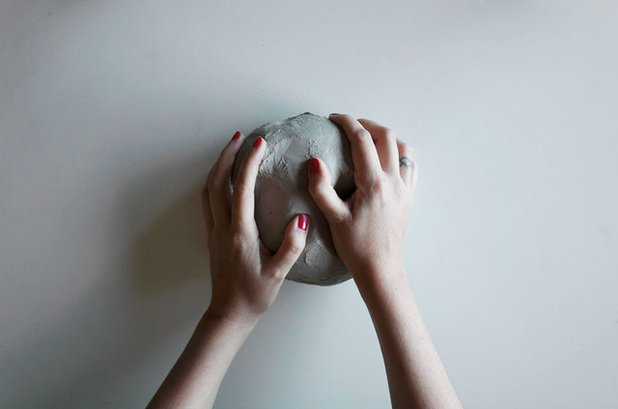
1. Knead the clay into a dough.
1. Knead the clay into a dough.
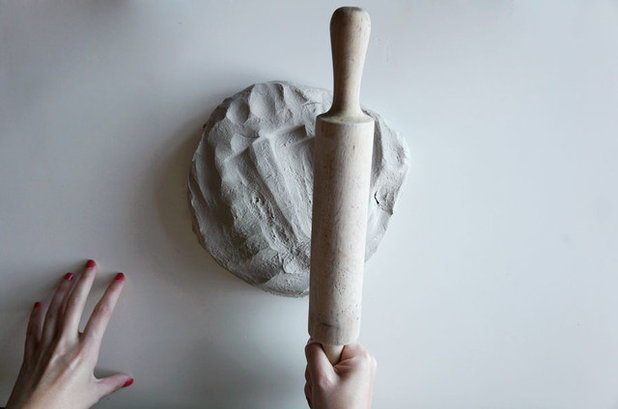
2. Gently press the clay with the rolling pin to flatten it.
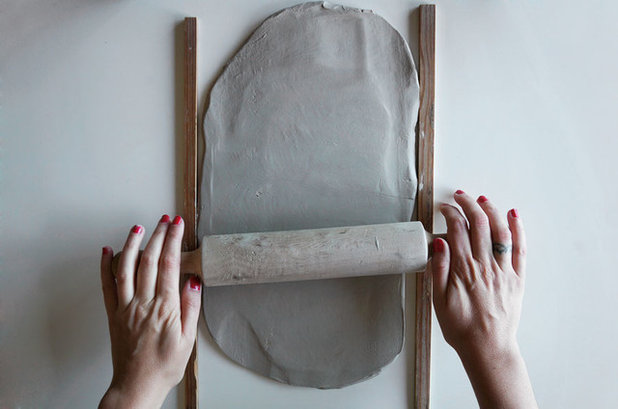
3. When the clay is about three-quarters of an inch thick, place a strip of wood on each side and resume rolling it out. Use the strips as guides to ensure that your clay has a uniform thickness.
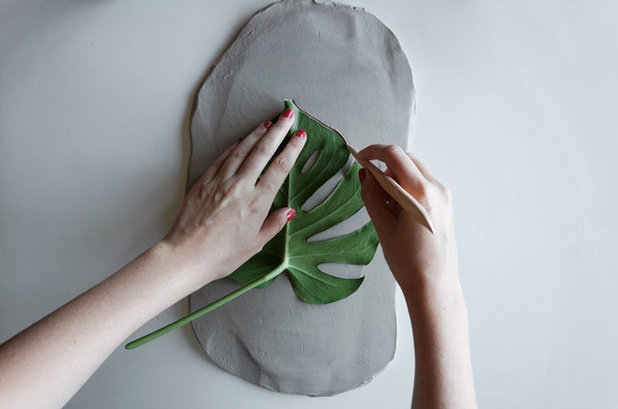
4. Put a leaf on the clay and trace its outline using the clay-sculpting tool or toothpick.

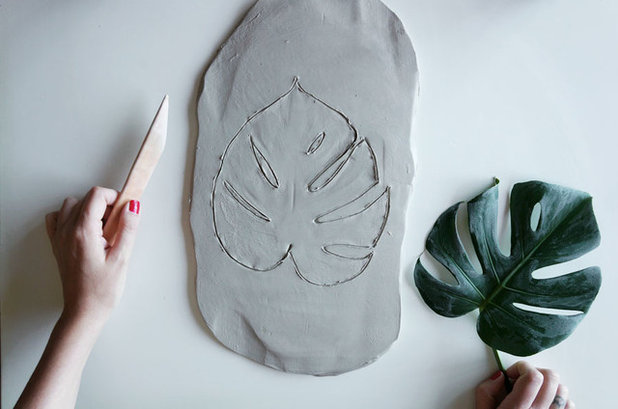
5. Remove the leaf and cut out the tray along the outline.
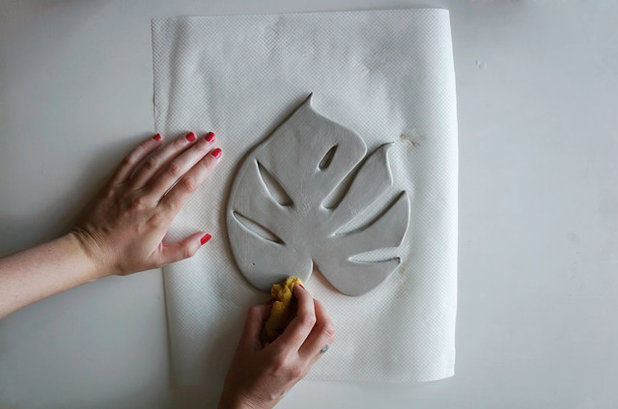
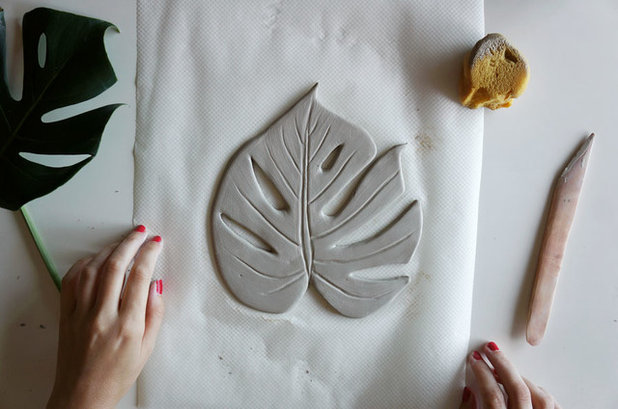
6. Since the tray is still fragile, carefully place it on the baking parchment to avoid any damage. Moisten the sponge with a little water and run it over the edges to smooth them out and remove any imperfections.
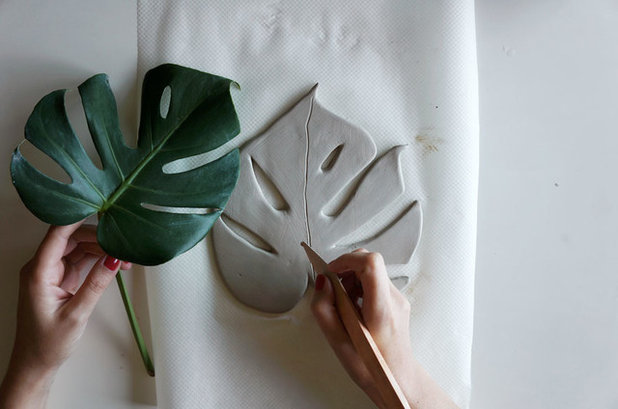
7. To give the tray a more realistic touch, draw the veins of the leaf. Then go over these lines with the wet sponge. Take your time and be gentle.
Tip: Start by drawing barely visible lines that you can easily rub away with the sponge if need be. When you are satisfied with the design, retrace the lines with more pressure to make them clearly visible.
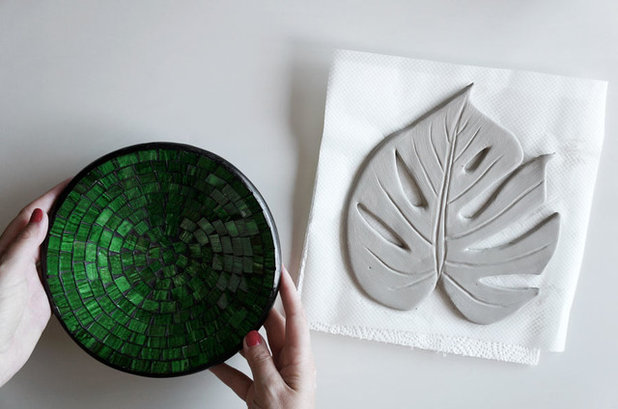
8. Put some paper towels into the bowl you are using as a mold, and then put the clay leaf, still on the parchment, inside. Shape it to the mold.
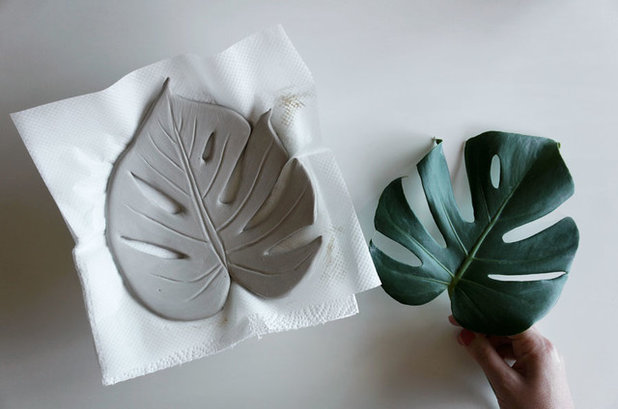
9. Let the tray air-dry in the mold until it hardens. How long this takes depends on the humidity. I recommend waiting at least 72 hours before you take it out of the mold. You’ll notice that the clay whitens as it dries.
10. Once the tray is completely dry, go over it with sandpaper to remove any imperfections and create a surface that is as smooth as possible.
10. Once the tray is completely dry, go over it with sandpaper to remove any imperfections and create a surface that is as smooth as possible.
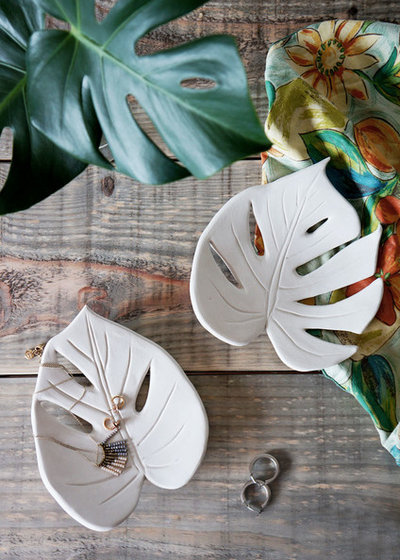
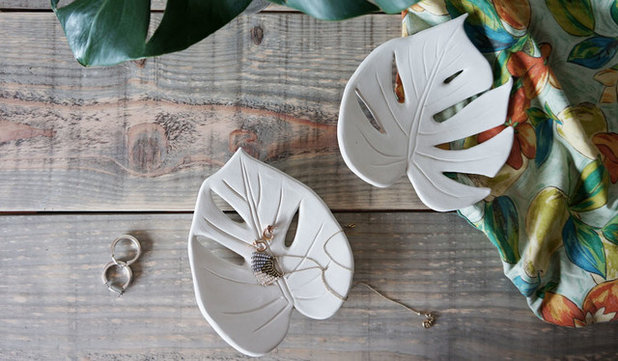
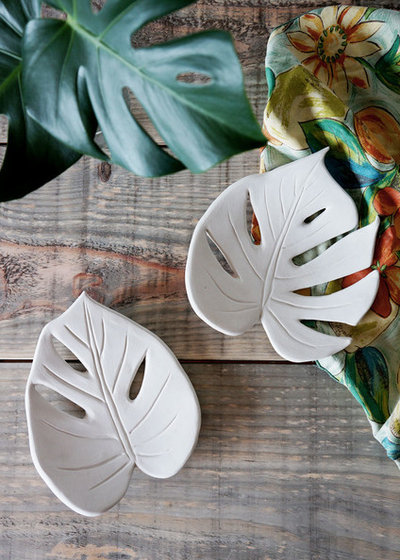
In this picture, you can see two dry and ready-to-use jewelry trays. They are gorgeous in their original white, but you can also paint them with acrylic paint or apply a couple of layers of varnish to give them extra protection. Then use them to store your favorite trinkets or as decorative trays.
Monstera deliciosa is a great choice thanks to its spectacular leaves, but I’m sure the result would look just as nice if you use other foliage as a template.
More
Houzz TV: 6 Items That Solve Your Jewelry Organization Problems
Browse other DIY projects
Monstera deliciosa is a great choice thanks to its spectacular leaves, but I’m sure the result would look just as nice if you use other foliage as a template.
More
Houzz TV: 6 Items That Solve Your Jewelry Organization Problems
Browse other DIY projects
Похожие статьи

Статья практикующего дизайнера
Пошаговое руководство: Как выбрать своего дизайнера интерьера
Автор: Natalia Mitina
Практикующий дизайнер описывает методику поиска автора вашего будущего проекта
Читать
Советы по декору
Вопрос: Как определить, какого размера ковер вам нужен
Автор: Ольга Божко
Перед тем как завести ковер или расположить уже имеющийся — повторим несколько правил
Читать
Статьи о кухнях
Что лучше: Матовый или глянцевый фасад для кухни
Автор: Евгения Назарова
Как отметил один из дизайнеров, вопрос уровня «брюки или юбка». И все же
Читать
Статьи про наведение порядка
Все запущено: Как навести порядок в квартире и начать новую жизнь
Автор: Юлия Володина
Мы за интеллектуальный подход к уборке, потому составляем план действий, чтобы разобрать домашние завалы
Читать
Советы для маленьких комнат
Скромные метры: 12 мест для хранения, которые вы зря игнорировали
Автор: Юлия Девятова
Используйте каждый квадратный сантиметр с пользой — изучите наши идеи для хранения
Читать
Почему не мне
Почему не мне это пришло в голову: 17 идей в закладки
Автор: houzzrussia
Так тоже можно! Сохраните в закладки, вдруг пригодится
Читать

Статья практикующего дизайнера
Эргономика: Как правильно вешать светильники
Автор: Наталья Преображенская
Важно всё: высота относительно пола, потолка, уровня глаз. И даже габариты мебели в комнате
Читать
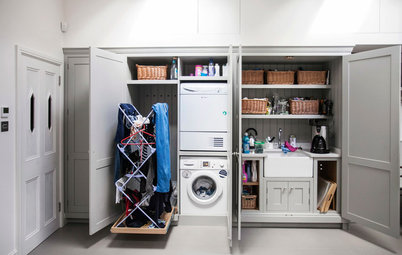
Статьи про наведение порядка
Где сушить белье в квартире... красиво
Автор: Екатерина Кулиничева
Если не хочется развешивать его над ванной и ставить сушилку посреди гостиной. А балкона — нет
Читать
Советы по ремонту
Как выбирать строителей: 11 советов от дизайнера интерьеров
Автор: Дарья Харитонова
Чтобы ремонт не превратился в кошмар, выберите правильного подрядчика
Читать
Статьи о кухнях
Дизайн-дебаты: Надо ли планировать кухню по рабочему треугольнику
Автор: Татьяна Гронская
Правило рабочего треугольника помогает экономить силы и время на кухне. Но часто ли применяют это правило на практике?
Читать
Хм.. у полимерной или самозатвердевающей "глины" - может быть не приятный запах, имейте ввиду.
Я всё-таки предпочитаю натуральные материалы, а как красиво смотрится глазурь... мммм...
Прекрасная идея. Попробую сделать такую тарелочку. Сейчас большой выбор самозатвердевающих масс и глин, из натурального материала и без постороннего запаха. Обожаю этот материал и он достаточно прочный, даже без обжига. Вот одна из моих работ из самозатвердевающей глины.
Прекрасное изделие! Недавно заказывала тарелку для украшений у "Охры". Через несколько дней глина начала облазить, создавая неприглядный вид. Это очень неприятно, ведь я рассматривала эту тарелку как долговременное украшение для моего интерьера. К сожалению, качество товара не соответствует заявленной цене.